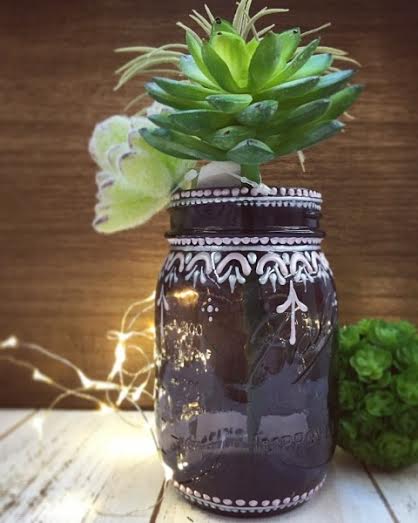
Today's project is a fairy in a jar! So cute for around the house or in your garden.

Supplies:
smooth glass jar
matte mod podge
stiff bristle brush
clear or white chunky glitter
chip board (thicker than card stock, but thinner than cardboard)
X-acto blade
battery powered tea light/firefly lights
white tissue paper (same as gifting tissue)
E6000 glue
hot glue gun/glue
assorted silk flowers and foliage
First, we need to cut out our fairy.
You can trace a printed image, trace a sticker, use a die cut machine with a fairy template, or free hand the image. I chose the latter, but if you look up "fairy silhouette" online a lot of really great templates will come up. The important thing to remember is that the fairy wings have holes in them, so that the light can shine through them.
I drew my fairy with pencil on my chip board.
Chip board is like really dense paper. Like poster board. It maintains its shape pretty well, so I thought it would be better than regular card stock.
With an X-acto blade, I carefully cut out the pieces.


(last minute I actually decided to remove the arm sticking out, I thought it looked too distracting) so you can still edit your image somewhat even after you cut it out. Plus keep in mind the smaller the area, the harder it is to cut out.
Then just add a swab of E6000 glue to the top of your fairy. Either to her head or top of her wing will be good.
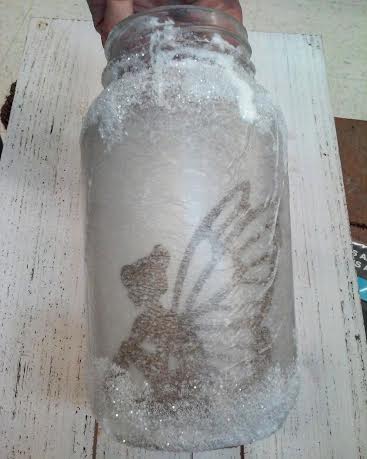
Then stick her to the inside of the jar. It looks better if her whole body is not touching the glass, so that it actually looks natural. Just one part of your cutout has to be glued to the glass. Since this glue takes a long time to cure, set the jar on its side with something on top of your fairy holding it in place until completely dry.

Then with your bristle brush, coat the entire outer surface of the jar with matte Mod Podge. Take the middle of your sheet of tissue and wrap it around the front, so that the ends meet in the back. The slower you wrap the tissue the better. Since it is so thin, once it gets soaked in Mod Podge it can very easily rip. Small wrinkles are okay.
Then when your whole jar is covered, set aside until dry.
After it's dry, you can add another coat of Mod Podge around the outside as a sealer to protect the tissue from dirt or scratches.

When you are applying your second sealer coat of Mod Podge, pour a bit of that chunky glitter on the top curve and bottom curve of your jar. This adds a "fairy dust" or even "frosted" feeling.
Then all you need is to glue some flowers and foliage around the top of your jar as an added accent! You can use twine to wrap, or even some charms. Whatever small accents you feel would fit your fairy garden motif would look lovely around the top!
And for the finishing touches all you need is firefly lights, or a flickering battery operated tea light!
(Do not use a real candle or anything with a flame inside the jar, as the materials are quite flammable!)

Amaze your guests with your fairy catching skills!
Have a great week!
Bethany @ Enchanted Lake