Showing posts with label polymer clay. Show all posts

Monday, August 3, 2015

Polymer Clay Donut

Want something sweet? You are in luck today! We are going to be making a polymer clay donut with sprinkles.  It will look really yummy, but you can't eat it. (Sorry.)  However, you can use it as an arm candy, a necklace, earrings and much more. Let's get started.

Supplies:
Polymer clay colors of your choice (I've used 5 Sculpey Souffle colors)
Cutting tool
Ball tool/needle tool
Eye pin
Baby wipe/Wet napkin

Optional:
Translucent Liquid Sculpey (TLS)


First choose your donut and icing flavor.  I chose to do a chocolate donut with vanilla icing.  Take a piece of polymer clay for your donut (the size you want for your donut).  Condition (knead between your fingers) your clay until its workable.  Roll it into a ball and flatten it out.


Take your ball tool/needle tool and create a hole in to middle to form your donut base.


Now it's time to add the icing.  Take a small amount of polymer clay for your icing.  Condition your clay, roll into a ball and flatten it out.  Pull some of the sides to make the icing look like it's hanging over the side of the donut.  Place your icing on the donut.  Get your ball tool/needle and create a hole in the middle (same as the donut base). 


Last but not least, the SPRINKLES!  Take a piece of polymer clay from 2 or 3 different colors.  Or, you can just do one - it's your choice.  Condition the clay as usual and roll it into a ball.  Next, you'll roll it out into a thin snake and cut it into small strips.


Now take each piece and place it onto your donut.  You can add as much sprinkles you want.


If you want to make it into a charm, just add a dab of translucent liquid sculpey (TLS) onto your eye pin and stick it into your donut.  *Bake clay according to the package instructions.*


And your donut is complete.


Doesn't it look so yummy? But just remember, this one is not for eating! :)

Until next time.

Have a Craftastic Day!
Julie @ Enchanted Lake


Monday, March 23, 2015

New Class offered at Enchanted Lakes Ben Franklin Crafts

Hey Everyone,

We have a new class here at Enchanted Lakes Ben Franklin Crafts.  It's called Dreamin In Mini and the instructors are Kim and Kerstin.  If you always wanted to learn about polymer clay and miniatures, this class is for you.  Come on by Enchanted Lakes and sign up.  Their class will be held on Sunday, March 29 from 12pm to 1:30pm. This will be a series of 4 sessions and it'll be $25 per session. Take a look below for more information.


Have a Craftastic Day!
Julie @ Enchanted Lakes

Monday, December 15, 2014

How to make your own Christmas Cookie Ornaments with Polymer Clay

Supplies:
Christmas themed cookie cutter (label cutters for crafts only)
Sculpey III or Fimo Beige
Eye Screw (Optional)
Sizzle Nylon Thread (any color)
Translucent Liquid Sculpey (TLS)
Chalk Pastels (any color)
Chalk Pastel - Orange, Tan, Brown (for shading)
Paint Brush (soft)
Scratch Paper
Needle tool
Toothbrush (label for crafts only)
Roller (label for crafts only)

Step one: Condition your beige polymer clay with your fingers until soft.  Roll out clay with roller until you reach your desired thickness.  Cut out your design with your Christmas cookie cutter. (Please make sure you don't use these cookie cutters with food.)


Step two: Texture clay with toothbrush. (Please make sure you don't use toothbrush for teeth.) Just press onto clay with toothbrush.
Scrape orange, tan and brown chalk pastels on scratch piece of paper.


Take your paint brush and brush chalk pastel mixture onto clay to give it a cookie look.
Take your needle tool and poke a hole on the top (where you would want to add your thread) or add an eye screw.

Step three: Scrape chalk pastel (color of your choice for icing on the cookie) onto scratch paper. Squeeze TLS onto chalk pastel shavings and mix thoroughly with needle tool.
Pick icing up with your needle tool and spread across your clay until satisfied (make sure you don't cover the hole you made). 
Bake clay according to manufacturing on packaging (please have adult supervision if you are underage to use an oven or toaster oven) Once cooled add your thread to the top and your done!

Have a Craftastic Day!
Julie @ Enchanted Lakes

Thursday, April 24, 2014

Come sign-up for our classes at the Mapunapuna Ben Franklin!!


Ben Franklin Crafts Hawaii
Come sign-up for our classes at the
Mapunapuna Ben Franklin Crafts!


Knitting with Flo
Come and join Flo as she teaches you the basics of knitting if you are a beginner.  All levels are welcome and advanced patterns are learned.
Date:  Tuesday, April 29 
Time:  9:30am - 11:30am


Painting with Amanda
Take a new and exiting approach to painting. Choose your image and instructor Amanda will guide you with painting tips and techniques.
Date:  Tuesday, April 29
Time:  4-7pm
Date:  Friday, May 2 
Time:  11am-2pm
 

Graduation Lei w/ Liliu
Project: Straw Lei

A beginner’s class in straw lei for the graduate, a gift for the graduate on your list or just to show your own team spirit. 
Date:  Saturday, May 3, 2014
Time: 4-7pm


Polymer Clay - Decoden
Are you into Polymer Clay jewelry, charms 
and chibi's? Join Fiona as she teaches you how to create 5 mini foodie sweets out of polymer clay.  Then decorate a small square container with the foodies and fake frosting.  See sample in the bead shop. 
Date:  Saturday, May 3, 2014

Time: 4-7pm


Check out our monthly calendar in our store or http://www.benfranklinhawaii.com/


Wednesday, August 29, 2012

Creativity & Fun at the House Party

Polymer Clay charms with Penny & cute Tea Bags with Cheryl were among the many things to create at the Pearl City Ben Franklin's House Party this past week-end!

Brenda helps a special guest make a mini treat bag!

Aunty Gayle, our Beginner's Beading instructor, helps Kimi with her Tamari Ball.

Julie helps a guest create a Witch's Shoe Treat Holder!

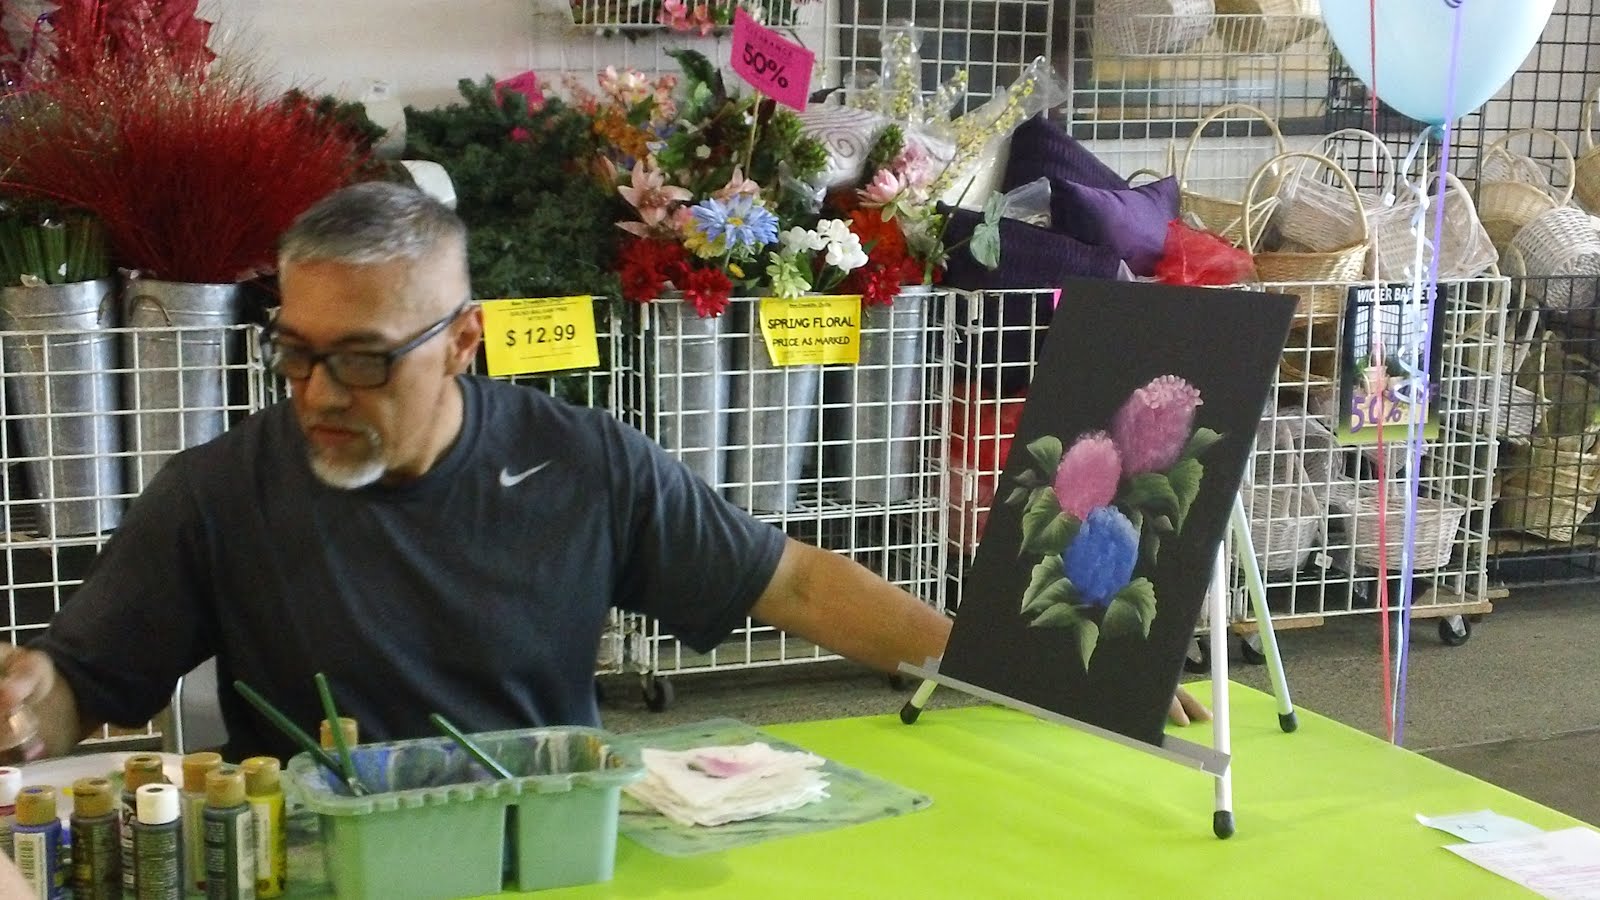
Frank, our One Stroke Painting instructor, created a beautiful work of art on Black Canvas!

Jenny helps special guests make Paper Punch Flower Pins!

Edna demonstrated how easy it is to create beautiful Nylon Flowers!

A beatiful butterfly smile for Jasmine!

Jenna couldn't resist hugging Mr. Jelly Belly who passed out special treats to everyone!


I hope you enjoyed a peek at our House Party! Don't forget, there is always something exciting going on at Pearl City's Ben Franklin....classes, workshops & demonstrations!
Make-n-Takes on Thursday Crafting with Gloria & Saturday Adventures!

gloria @ Pearl City

*Don't forget to scroll down and read today's earlier post on the latest episode on Crankin' Out Crafts!