Showing posts with label scrap booking paper. Show all posts

Thursday, September 12, 2013

Distressed Countdown Advent Cabinet


I had so much fun making this project. This Advent Calendar Cabinet is the perfect holiday decoration. Drawers are just big enough to hold little treasures so excited keiki's can count down the days until Christmas arrives.


Distressed Countdown Advent Cabinet by Beth
Tim Holtz Distress Stain
30143784 - UNF Cabinet 24 Drawers w/ Shutter
77501692 - Mod Podge
30141040 - Americana Multi-Surface Paint (Vanilla Shake)
30145457 - Joyous Tradition Paper scrapbook paper
30136620 – ½” EK Tools mini punch
James Button
Paint the cabinet with the color of your choice. Measure each drawer and cut 24 pieces of patterned paper to fit, mixing patterns and colors as desired. Punch a half-hole in the top edge of each piece to match the notches on the drawers. Use the stain to ink the edges around the cabinet. Mod Podge the cut paper to the drawers. Cut paper to fit the sides and back of the Advent calendar box; ink and adhere with Mod Podge.

Happy Crafting! Beth @ Mapunapuna BFC

Thursday, August 11, 2011

Glass Tile Pendants


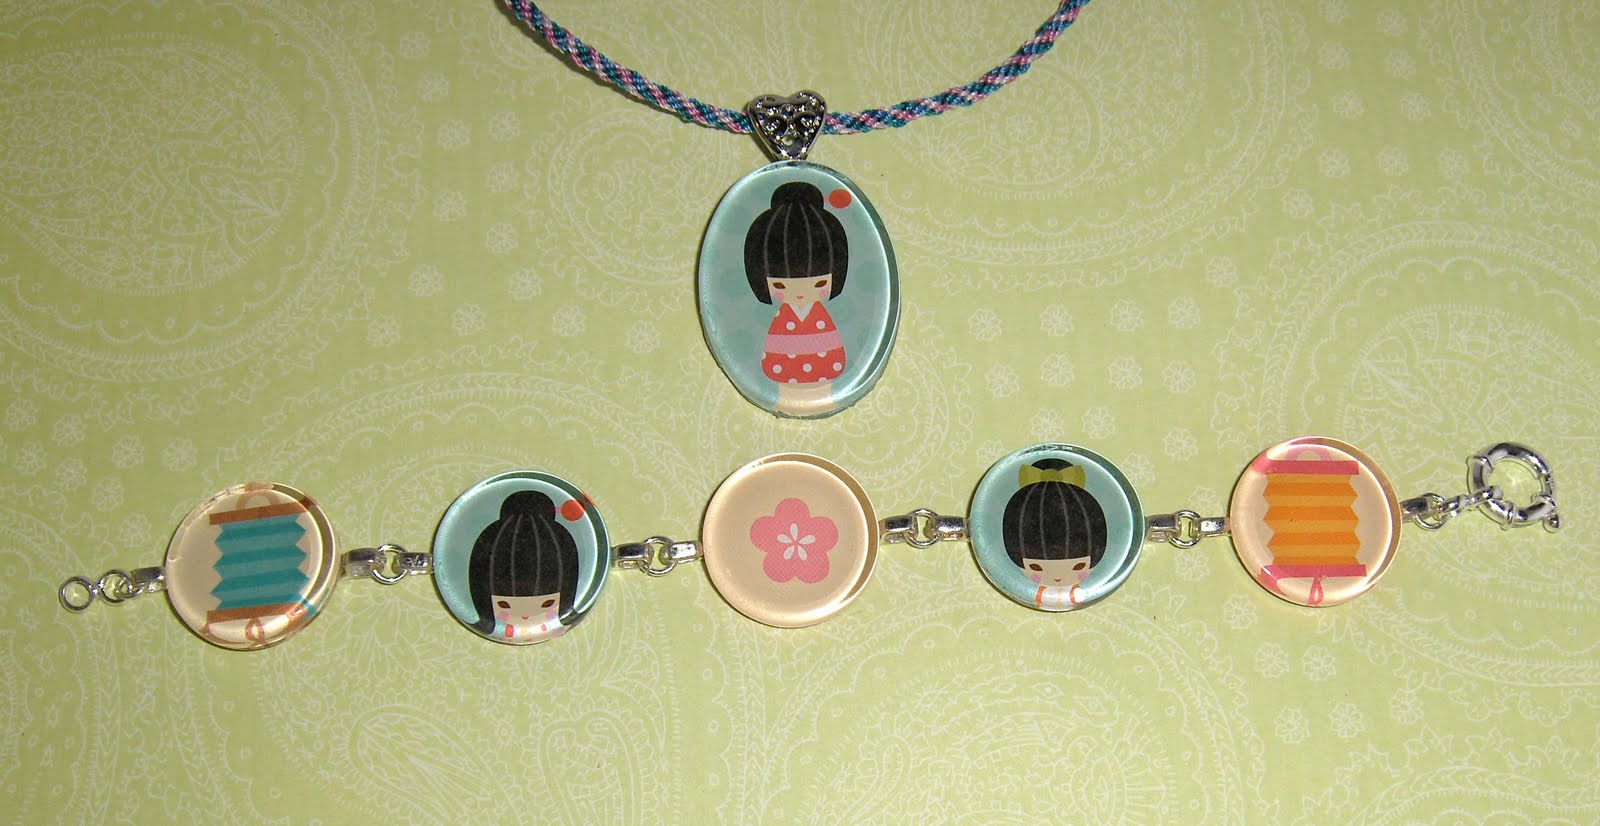
Glass tile pendants are very popular right now and we've started selling them in a variety of shapes and sizes. It's a fun way to make personalized jewelry and being that I'm able to use some of the cute paper that I bought, I'm one happy camper!
I used Glossy Accents to adhere the paper to the back of the tiles and then trimmed down the paper edges so that they didn't protrude beyond the edges of the tiles. I did another thicker layer of Glossy Accents behind that and once that was dry, I used Devcon 5 Minute Epoxy to attach glue on bales. By attaching glue on bales to both sides of each glass tile, I was able to make a bracelet by connecting the pieces with jump rings. For my pendant I used my Kumihimo disk to make a neck cord with S-lon nylon thread.
We've got glue on bales and glue on stretchy rings at all of our Ben Franklin Craft store with expanded Bead Shops (Mapunapuna, Maui, and Hilo)! I think these glass tiles would also be cute as a purse charm!
Don't forget that our Kumihimo disks are on sale until Friday August 12 so if you want to make a Kumihimo cord for your pendant, now would be a great time to pick one up and we can easily show you how to Kumihimo!

Thanks for stopping by and I'll catch ya later!

Lynn @ Mapunapuna Bead Shop


Monday, March 14, 2011

Packing Tape Transfer

Hooray for no Tsunamis 0r technical difficulties! (We hope everyone is doing OK, by the way.) I can finally do my blog again, so as promised I'm going to show you how I did that neat little label on my altered box. The technique is very simple and all you need is some clear packing tape, an image to transfer, and a spray bottle filled with water.


Tape transfer works best with glossy magazine images but you can use almost anything including scrap booking paper or images printed with an ink jet or laser printer. For my image I used a Cartier ad out of a wedding magazine. First, you need to place the packing tape on the image. You're only working with about two inches of tape so choose your area carefully.


Next, I cut out the image to make it easier to work with and used a bone folder to burnish the tape to the image. Make sure to burnish the whole image and watch out for any air bubbles. If you end up with a crease in the tape the transfer will still work but you'll also be able to see the crease.


After your tape is nicely burnished, flip the image over and spray the back with water. Wait for a little while to let the water soak in, then gently rub the back of the image with your finger. This will start to take all the paper off of the tape while leaving the image on. When you've rubbed all the paper off the back, let the tape dry. Your image will end up being transparent with darker colors looking more opaque than lighter colors.


Here's my finished piece:


The rose at the bottom of the card is the image I transferred from the magazine ad, but I also used this technique to make the "thank you" wording at the top. I've found that this technique comes in handy for making personalized sentiments or for when you need another size for your wording, sort of like customizable rub-ons. It also works well for putting images to paper which may not be appropriate, or the right size, to send through the printer.

I hope everyone likes the idea, I've had a lot of fun playing around with it. I'm sure you'll see more of my upcoming projects using this technique, I seem to keep finding more and more applications for it.


Thanks for reading!

Puna @ Enchanted Lake