
Materials:

- Sizzix Big Shot -or- Big Kick
- 2 Standard Cutting Pads + Multipurpose Platform
- 6x12 Cardstock Paper (cutting a 12x12 sheet in half is perfect!)
- Hot Glue Gun + Gluesticks
- Dowel/Pencil (optional)
Instructions
- First, let's cut out all our pieces! place all the dies onto the cutting pad, then put your cardstock sheet over them, making sure they are covered completely. The sandwich I am using here is the Multipurpose platform on tab 2, then just the two cutting pads with the dies in between. And if you are new to Sizzix, don't be alarmed by the cracking and crunching when the die go through the machine- it's completely normal. :)
 *TIP* I like picking cute, bright double sided paper with contrasting prints and colors! It gives a nice effect and saves you from needing 2 different sheets and colors of cardstock for the leaves and petals!
- You only need to run the center piece and leaf die once (or twice for the leaves, it's totally up to you!) so you can remove those after you've cut out the first set, but you will need to run the petal dies through 2 more times so that you will have 3 of each petal type.
- Alternatively, you can run it through 2 times with the large 3-pronged flower die and petals, then remove the petals and run the three-pronged die through one more time. (This is okay because you don't necessarily need to use each individual petal; I actually use about 12 pieces total unless I'm making something extravagant!)

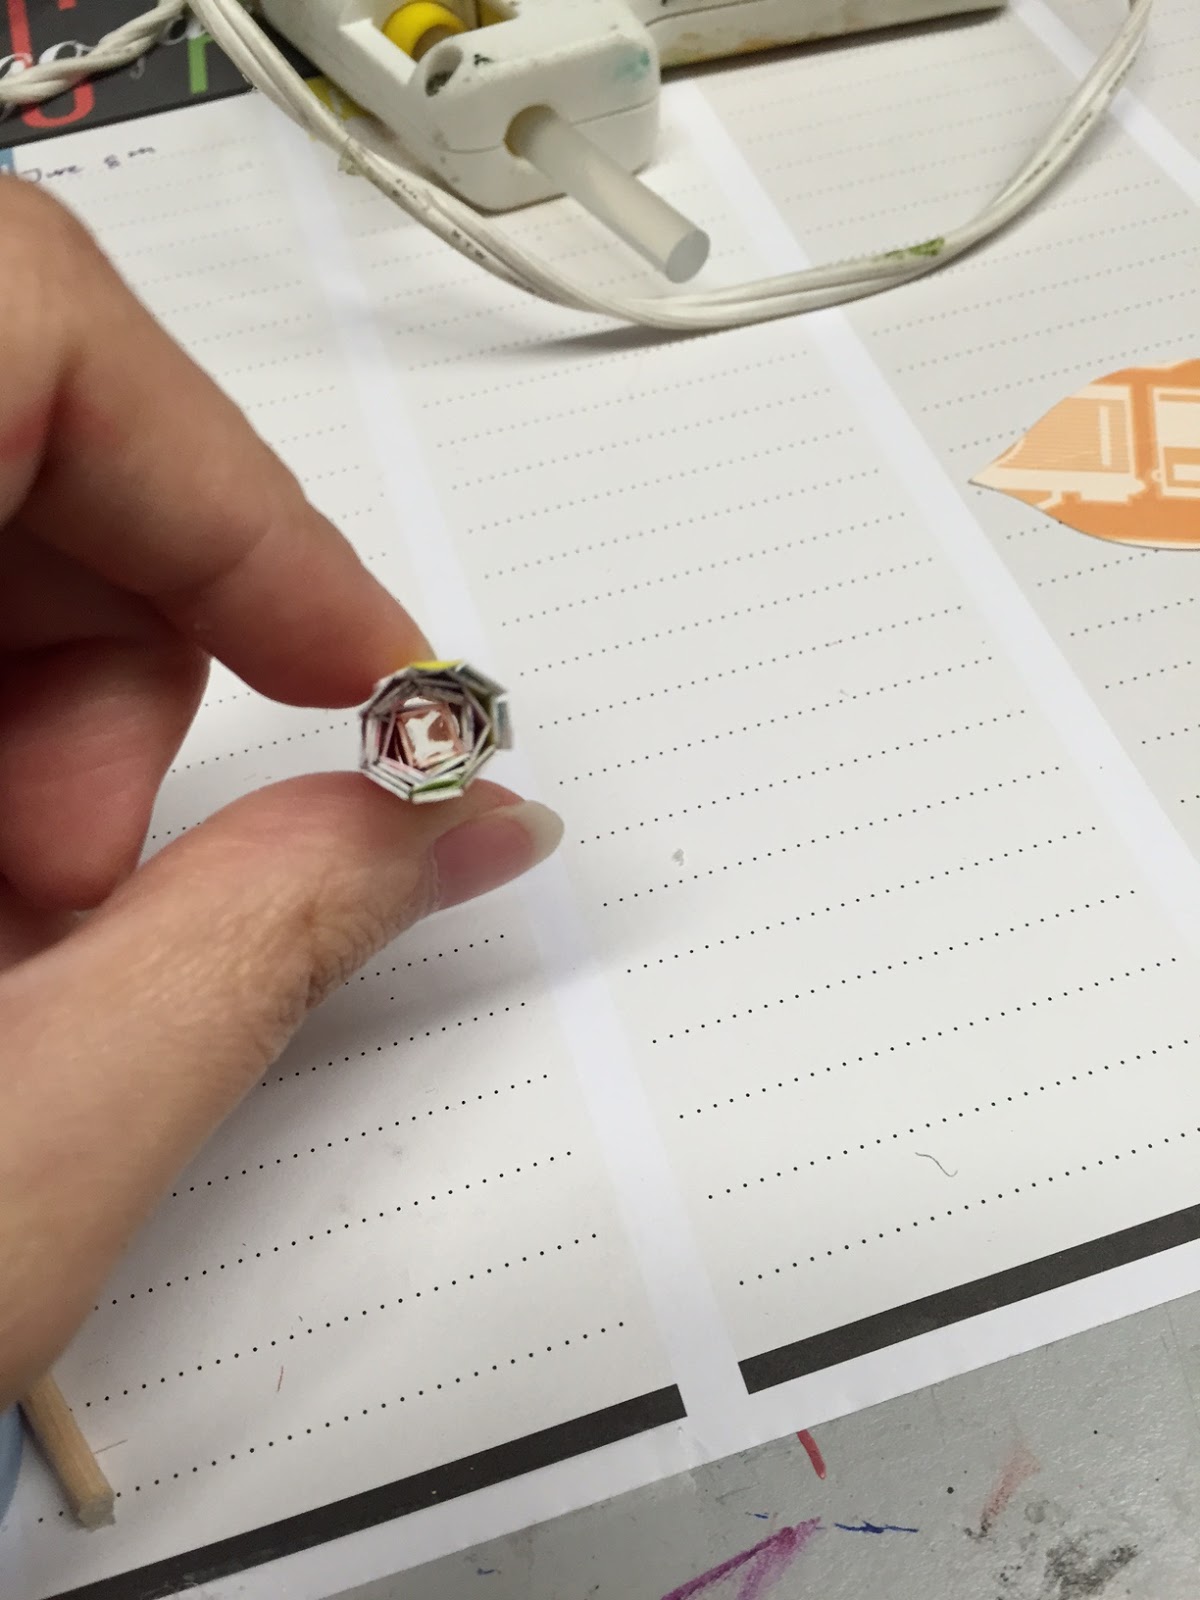
- Now that you have all your pieces, time to prep them! To prep, simply use a drop of hot glue and fold the tabs inward, like so:
- The leaf simply needs to be creased along the embossed line, and the centerpiece can be curled by hand or with the help of tweezers or a dowel, then fan out the feather-like pieces.


*TIP* Make sure the color you want showing on the centerpiece is on the inside when you are curling, not showing on the outside!
- Now you are ready to put it all together! Simply glue the pieces in trios, making sure the 3 petals are of a similar size, then glue these down to the large flower base from largest to smallest. Next, apply a generous amount of hot glue to the bottom of the centerpiece and secure it to the center if the flower. Applying hot glue to the leaf, glue it to the bottom of the flower with the desired color face-up.


YOU ARE DONE! Yaaay! And look at how pretty the flower is. To embellish it further, you can crease the petals along their embossed crease, or you can do what I did here and use a pencil to curl the petals to create a more round shape! Try all kinds of decorations and things, the possibilities are endless!


-Helen C.-
Craft Coordinator
Kahului Ben Franklin
No comments:
Post a Comment