

Supplies:
4 sheets of card stock with patterns and solids that all match each other in style (I used a solid olive green, a red pinstripe, a red holiday text, a Christmas tree print, and a green and white polka dot print) the plus side is that a lot of patterned card stock is double sided, so one sheet can act as two!
scissors
hot glue gun/glue sticks
matte Mod Podge
E6000 clear glue
1/2" nylon brush
small round nylon brush for fine details
cup of water
acrylic paint in the colors black, white, lime sorbet, dark cherry
3 teir raw wood tree shapes (sold as a set)
wood car
package of tiny wreaths
small trimmings of faux pine branches
one tiny cardinal
package of tiny glitter light bulbs
8 in of string or baker's twine
2 eye screws
dimensional pop-up dots
white fine tip paint pen

First take your 1" nylon brush, Mod Podge, and selected card stock paper, and apply a generous but even coating on the side of the wood. Then smooth out card stock over the side. Wait 5 minutes to dry a bit, then carefully cut off the excess paper around the edges. Repeat for all sides of the top middle and bottom tier. ( I didn't do the back or the underneath.)


After cleaning your brush in the cup of water, paint the insides of the tree.
I used white for the inside back panel of all the tiers.
For the middle tier, I mixed black and white to make grey, and used that for the side panels on the inside. I used the dark cherry for the front facing rim.
For the bottom tier I painted all the side panels olive green, while leaving the back panel empty, and painting the front facing rim white.

Then after letting everything sit to dry separately for 5-10 minutes, I began working on painting the car. I used lime sorbet for the sides, black for the tires, grey for the front, and white for the roof. Now the best part about the fine white lines on this car is that I used a paint pen! So much faster and easier than using a brush. I just drew lines around the windows, on the hood, and on the tires! And then for the finishing touch, I used E6000 glue to adhere the wreath on the front of the car!
For the inside of the bottom tier, I used the Mod Podge again to glue the pretty tree card stock to the back panel.
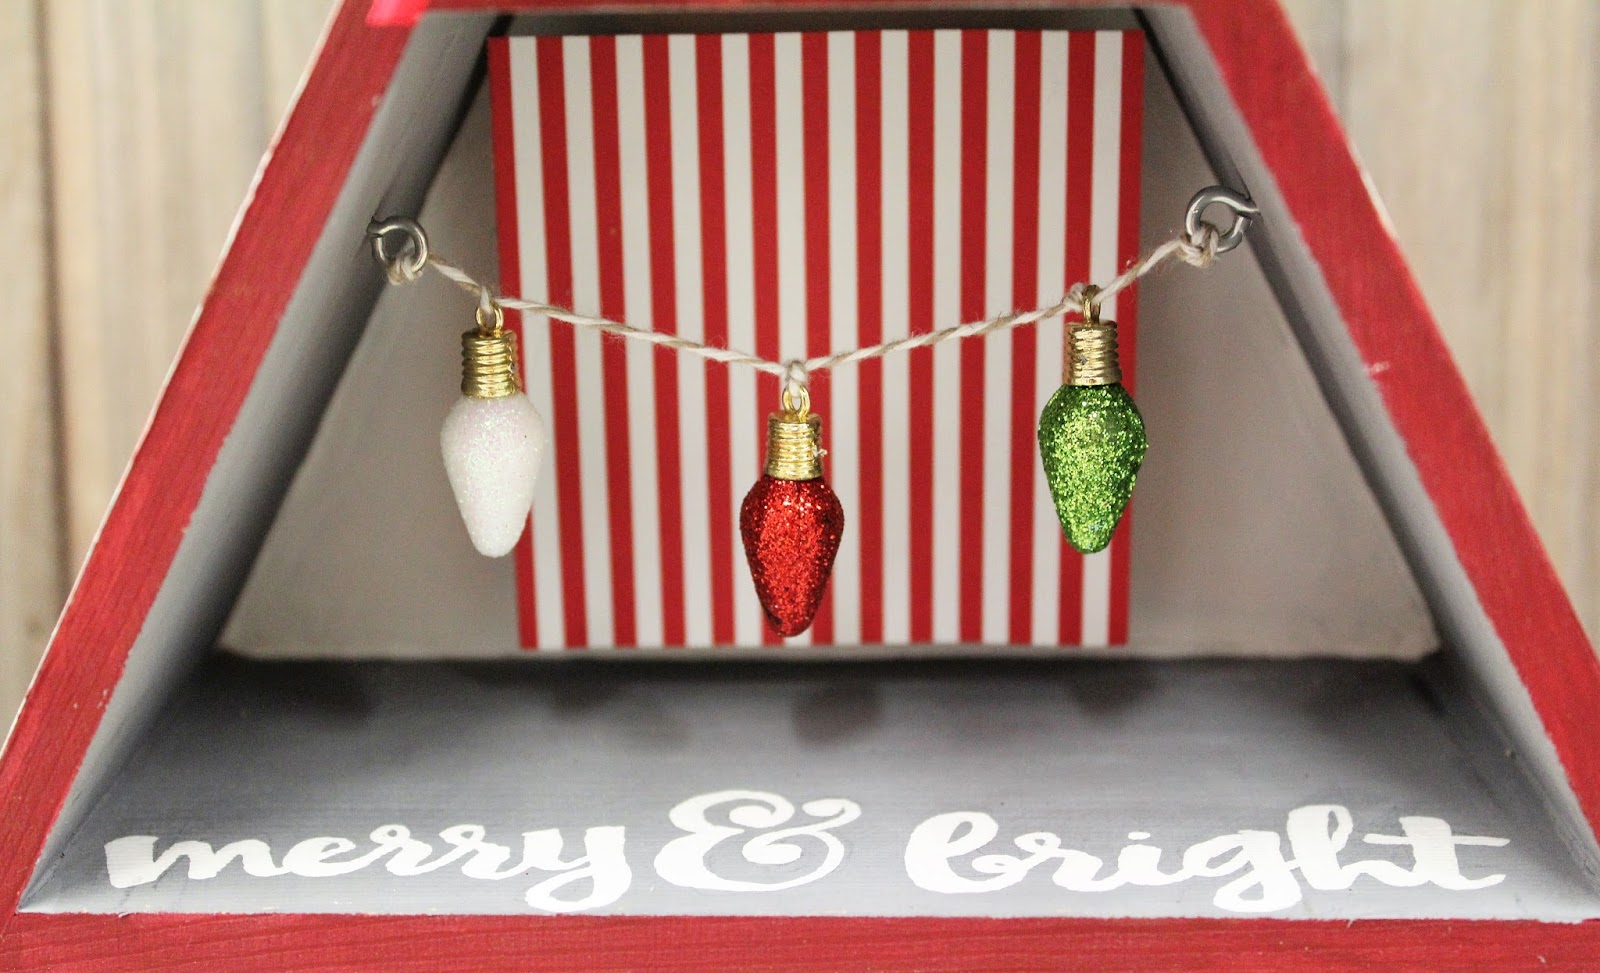
After the paint is completely dry in the middle tier, take your optional patterned card stock and layer pop-up dots on the back. This will make the square look like it's floating out and fill up some of the space. It will act as a back drop for your ornaments.

I used 3 ornaments and tied a knot in my string about 1 inch apart from one another so that they don't move around. Then I used the 2 eye screws, put them in the sides of the middle tier, and tied the string to them!
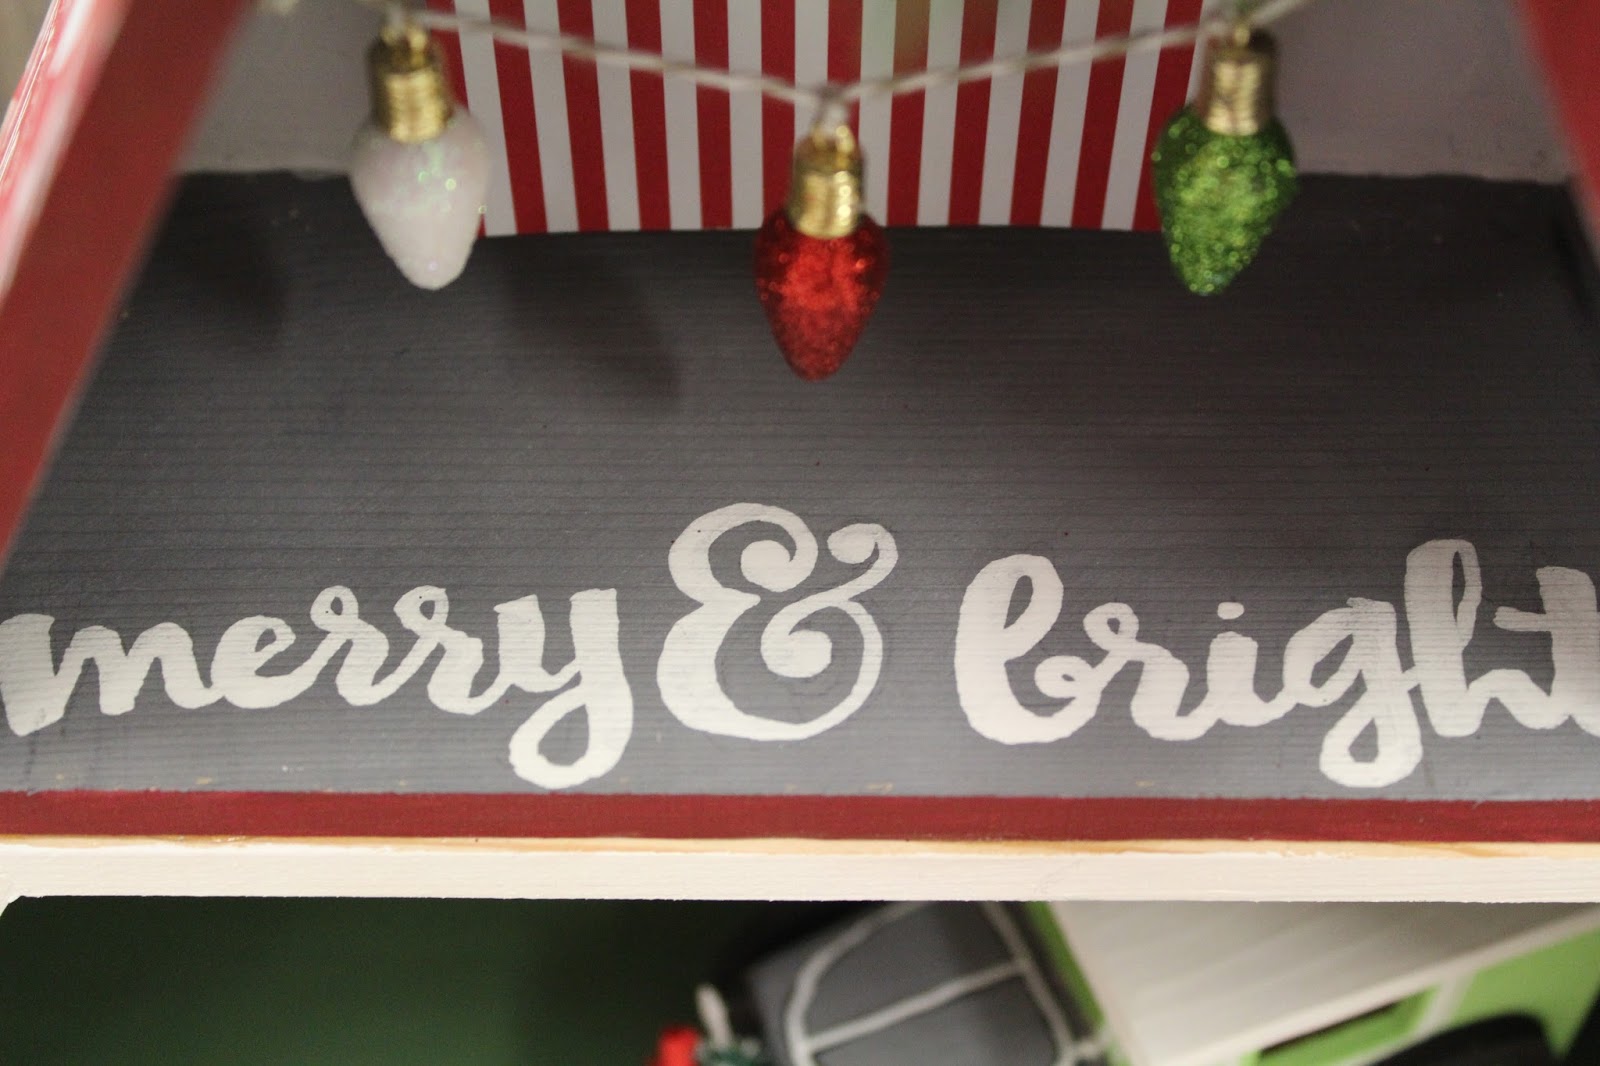
On the bottom of the middle section I also used that same fancy paint pen to write out merry and bright! It's optional, but I thought the empty space was big enough to be able to fit some kind of word or saying.

The top tier was the easiest! After the white paint was completely dry, I glued my sprigs of greenery in there with the hot glue gun. Then I simply glued the red cardinal to one of the branches, and ta da! So darn adorable!

Happy Crafting and have a great holiday season!
Bethany @ Enchanted Lake
No comments:
Post a Comment