Showing posts with label chipboard. Show all posts

Friday, January 29, 2016

Chewie Valentine

Hi, Crafters!
Can you guys believe that Valentine's Day is two weeks away?  So fast!
We've all been getting into the Love Day spirit at our stores; writing love notes on the tile floors with acrylic markers, painting up some of our new wood palettes in rosy colors and 
Mod Podging some Valentine's scrapbook paper onto our new Snippets chipboard heart shapes!  Today, I'll show you how to make a really cute and simple Valentine inspired by our favorite Wookie.


Supplies Needed
Snippets Heart Lock & Key Chipboard set
Brown Eyelash Yarn 
Black Paint
Light Green Paint 
Brown and Silver Cardstock Scraps
Scissors
Hot Glue Gun

All you need to do is hot glue an end of yarn to the bottom of the heart-shaped chipboard and wrap continuously until the entire heart is covered in yarn.  A few dabs of hot glue here and there while wrapping will help keep things secure.  Once that's done, cut a 1/2" x 3 1/2" strip out of the brown paper and hot glue small squares of silver paper onto it.  Hot glue it onto the Chewie heart.  After this, you can leave it as it is, or make a little Lightsaber out of the key.  I chose to make mine green like Yoda's, but you can always make it blue, red, purple or red as well.


That's all there is to it!
Have fun and see you all next week!

Erika@PC

Monday, February 9, 2015

Crankin' Out Crafts - Episode 407 Distressing with Ink Pads

JFlo shows a quick tip and trick on distressing with ink pads. Experiment with different ink pads and colors to create an aged look to projects.

Add stamping ink to projects to create a distressed look


Supplies:
chipboard piece
acrylic paint
Distress Ink (or stamp pad)


Be sure to check out our previous post today - Julie from our Enchanted Lake store shares another great way to distress wood using acrylic paint.

Wednesday, May 1, 2013

Crankin' Out Crafts Episode 245 - Recipe Book


What's better than Mom's homemade cooking? Treat your Mom this Mother's Day by putting some of her best recipes together in this easy and durable recipe book.

Make Mom a recipe book for her collection of favorite dishes!

Catch our latest episode here: Crankin' Out Crafts: Episode 245 - Recipe Book

Supplies:
Letter stickers
Scrapbooking paper
2 Pieces of 8.5"x11" chipboard
Two 1.5" snap rings
Double-stick tape
Crop-a-dile
Washi tape for optional embellishing

When you're done making your recipe book cover, don't forget to add recipes. You can print them up on your computer and they'll fit perfectly in your book.

Friday, February 15, 2013

Crankin' Out Crafts Episode 215 - Letters Frame


Personalize your frame with your painted initial. Use our new ready-to-decorate chipboard letters!

Personalize a frame with an initial!


Supplies for Frame:
MDF Ready-To-Decorate Frame
Chipboard letters
scrapbook paper
double-sided tape
scissors
ink pad (for distressing edges)
paint & paintbrush
decoupage glue (gloss finish)
burlap sheet
gluegun & gluesticks

Supplies for Pennant:
scrapbook paper
baker's twin or yarn
hole punch

These frames are so easy to make! Decorate some to give out as gifts to family and friends.

Friday, August 10, 2012

Crankin' Out Crafts Episode 137- Picture Wreath (Wall Art)

Have you ever wondered what to do with all of those great pictures you took the last time you went on vacation? Well, Lisa is back with us today with the perfect answer to that question; you hang them up, of course!

A fun way to use your photos!

A close-up of the project


Supplies:
Pictures (we used 3”x3” photos)
Chipboard
Scrapbooking paper
Hot glue gun and glue sticks
Stretcher bars (we used 16” and 18” bars)
Ribbon

Now you don’t have to put those photos in an album where no one will see them, you can hang them on the wall for everyone to enjoy. We hope you enjoyed our week of wall hangings, join us again next week for the next cool craft we can crank!

*Don't forget to scroll down and read today's earlier post from Kahului!


The CINCH Jewelry Holder

Aloha Crafters ~

Today's Idea & Inspiration is a Jewelry Holder made with The CINCH Bindery Tool.

Supplies:
  • THE CINCH BINDERY TOOL (30105279)
  • THE CINCH Black 12X12 Chipboard (30105294)
  • THE CINCH 1" Wire (30105282)
  • 8" Round Beveled Mirror (30086573)
  • Dritz Awl (30081891)
  • Glue Gun (77548404)
  • Glue Sticks (30078029)
  • 6' Rose Rope (30122396)
  • Pink Hydrangea (30128534)
  • White Hydrangea (30082834)
  • Pink Ranunculus (30063332)
Instructions:
  1. Using The Cinch Bindery Tool pierce a row of holes on 1 side of the black chipboard
  2. Place 1" wire through holes, tighten using The Cinch Bindery Tool
  3. Using awl, pierce holes in top corners for rose rope
  4. Using glue gun, adhere mirror to chipboard,
  5. Adhere rose rope around mirror, cut left over rope
  6. Pull flowers off stems, adhere to chipboard as desired
  7. Using leftover rose rope, thread through top corners to use as a hanger, twist wire on rope to secure
  8. Hang flowered mirror jewelry holder on wall
  9. Hang jewelry from wire
Happy Crafting!

-Kahului BFC

Monday, May 28, 2012

Dad's Pennant


It's almost June, everyone, and you know what that means? That's right, Father's Day is right around the corner. (It falls on June 17th, to be exact.) So to help everyone prepare, I wanted to share an easy Father's day project with you.


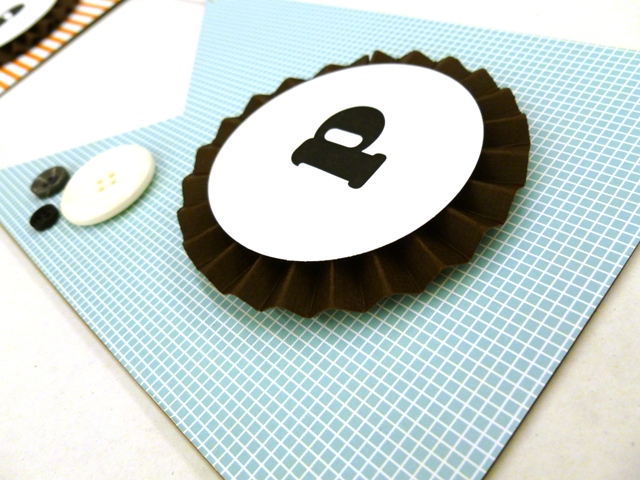
These Father's Day pennants are made using our pre-cut chipboard shapes and scrapbooking supplies like paper and embellishments. We simply taped our papers to the chipboard shapes and then used an Xacto knife to trim around the edges. We also added a few buttons toward the bottom of the pennant for an additional embellishment. A hot-glue gun and glue sticks make these pennants really quick to make.


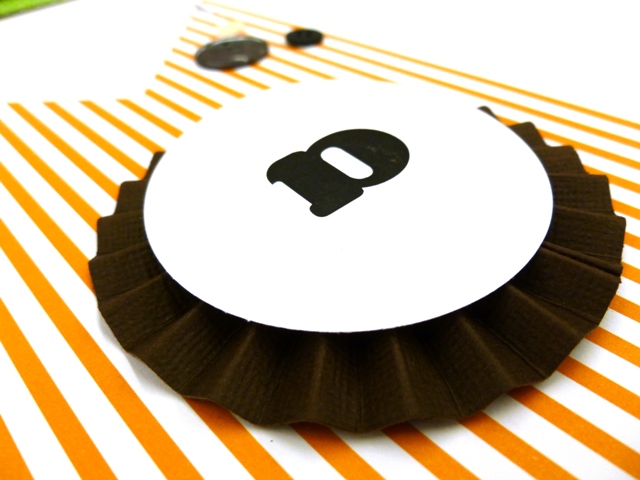
The last bit of embellishment that we added was the word "Dad" placed on a dimensional, circular accent which we made out of paper. We simply took a 1.5" x 12" piece of paper and scored it every quarter inch and then accordion folded it. Tape this into a circle and hot glue to the pennant for a great dimensional touch. "Dad" was printed out on the computer using a word program and then punched out using a 2.5 inch circle punch.


These pennants are great for any occasion but we thought them especially good for a Dad who may have too many neckties. You can drop by our store to check out all of the great Father's Day ideas we're featuring.

Puna @ Enchanted Lake

Friday, April 13, 2012

Crankin' Out Crafts Episode 87 - Rainbow Pennant

For our last Graduation Decoration, we'll show you how to make a cool pennant banner. Puna transforms a plain chipboard pennant into a glitzy, colorful banner to congratulate a graduate.

Customize with a name, message, or greeting!


Supplies:
Large Chipboard Pennants
12"x12" cardstock
Glitter cardstock
X-Acto knife
Cutting Mat
Double-stick tape
Foam Tape
Cardstock Letters (you can use the AccuCut Machine, eclips, Cricut, or freehand cut them like we did)
1/4" Hole Punch
Ribbons
Scotch Tape

These pennants are easy to decorate and make for your next party. Thanks for joining us again this week! Have a great weekend!

*Don't forget to scroll down and read today's earlier post on the crocheted scarf by Kahului BFC.

Wednesday, October 5, 2011

Crankin' Out Crafts Episode 8 - Halloween Eclips Pennant

Our next Crankin’ Out Crafts Halloween episode is here! “Eclips Pennant” features the Sizzix Eclips machine and Puna.


These extra large pennants are precut out of chipboard so they’re super easy to decorate for that special occasion or event. Then, make your decorating even speedier with the Eclips electronic cutting machine.

Need a pennant decoration fast? Here is your supply list:
Eclips machine and cutting accessories
Eclips cartridge: Holiday
Paper Accents extra large chipboard pennant
Glitter paper
Scrapbooking paper
Double stick tape

On Friday we will be wrapping up our Halloween themed week here on Crankin’ Out Crafts. Don’t forget to watch!