Hey Everyone!
Today's craft is perfect for your keiki that are home for summer break!
In fact, our Keiki Craft Camp we are having this week from the 11th - 15th of July is doing this very same craft! The Craft Camp consists of two projects a day, and there are two different age groups.
ages 8-10 from 10am-12pm & ages 10-up from 1pm-3pm
To check out what crafts your keiki will be making this week, visit any Hawai'i Ben Franklin store!
It's $60 for the whole week, or $20 per day.
Supplies:
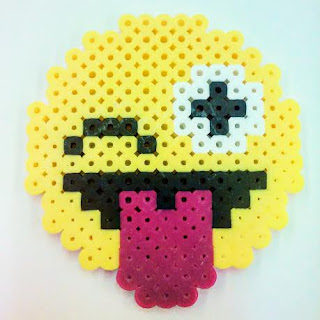
perler beads in yellow, pink, black, and white
acrylic perler bead peg board
hot iron
perler ironing sheets
To start with this emoji, I found this template online!
Or you can try to make your own and freestyle it, if you feel like improvising.
Ben Franklin even sells a book of ideas with animals, wearable sunglasses, and even a tree that you can make stand up!
To start, you'll want to arrange your beads on your acrylic board going by row. I went from the top down. The reason behind this is just to make it easier to place beads next to each other without trying to fit them in a tiny space.
Once you're all done making your shape, carefully cover it with the special ironing paper.
Iron smoothly across the whole shape from side to side without lifting up as to not lift up the beads. Once you see that your beads have somewhat melted together, let the whole thing cool down with the paper still attached.
Once it has cooled, for a more sturdy bond you can flip the shape over and iron the other side with the ironing paper. This will keep your shape from easily bending or breaking.
How cool is that?
It's like creating your own pixel art!
Have fun!
Bethany @ Enchanted Lake


HolA ginaferoldi
ReplyDelete